
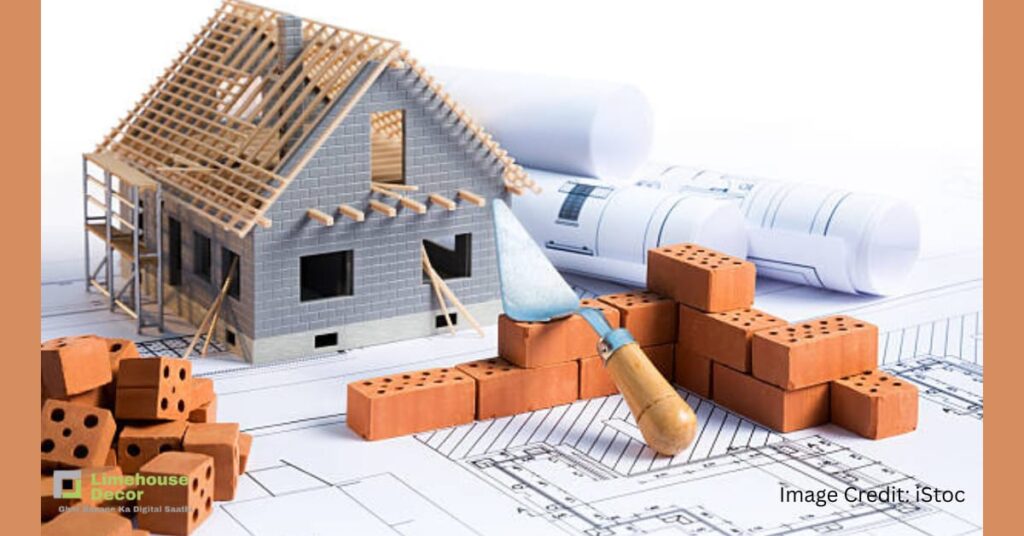
🏠 Planning to build your dream home but unsure where to begin? This guide covers all the essential House Construction Steps—from buying the plot to the final coat of paint—explained in an easy, step-by-step format. Perfect for homeowners and interior design lovers looking to build smart and stress-free.
- Why Understanding the House Construction Process Matters
- 1. Select the Right House Structure
- 2. Plan and Design Your House Construction
- 3. Choose a Contractor Wisely
- 4. Site Clearance and Excavation
- 5. Foundation and PCC Work
- 6. Footing and Column Setup
- 7. Plinth Beam and Backfilling
- 8. Ground Floor Brick Masonry
- 9. Lintel and Staircase Casting
- 10. Roof Slab Casting
- 11. Parapet Wall & Damp-Proofing (DPC)
- 12. Plumbing & Electrical Conduits
- 13. Wall Plastering
- 14. Tiling & Kitchen Counter
- 15. Painting and Finishing Work
- 1. Select the Right House Structure
- ✅ Final Checklist Before Moving In
- 📌 Final Thoughts

Why Understanding the House Construction Process Matters
Many first-time homeowners start building without understanding the steps involved. This often leads to delays, poor-quality work, and overspending.
Knowing the house construction process step-by-step helps you:
- Save money by avoiding unnecessary mistakes
- Ensure quality construction with timely supervision
- Make informed decisions when hiring contractors
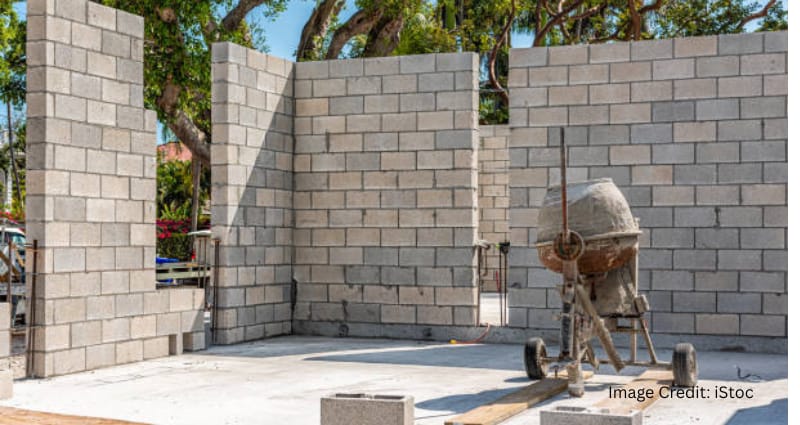
1. Select the Right House Structure
Before starting, choose between the two most common construction types:
RCC Frame Structure (Recommended)
- Strong, earthquake-resistant
- Uses columns and beams to support the slab
- Best suited for both small homes and multi-storey buildings
Load-Bearing Structure (Traditional)
- Slab rests directly on walls
- Less common today due to poor seismic performance
Tip: Always go with RCC frame structure for strength and durability.
2. Plan and Design Your House Construction
Hire a certified architect or civil engineer to create a layout based on your needs:
- Room sizes and placement
- Entry, ventilation, stairs, windows
- Vastu compliance (if needed)
Your plan also helps estimate construction costs and project duration.
3. Choose a Contractor Wisely
Two main types of contracts:
With Material Contractor
- Handles both labor and materials
- You only manage water, electricity, and payments
- Charges are per square foot
Labor-Only Contractor
- You buy materials, they provide labor
- More effort, but may offer savings
🖋️ Make sure to have a written contract that clearly outlines the work details, payment schedule, and each party’s duties.
📥 Download Your Free Construction Guide PDF
Get the complete step-by-step house construction guide in your preferred language:
📘 Download in English 📙 हिंदी में डाउनलोड करें4. Site Clearance and Excavation
- Clean and level the plot
- Mark layout as per centerline plan
- Start excavation with JCB or manually
- Match depth with neighboring foundations
5. Foundation and PCC Work
- Do soling with stones
- Lay 6-inch thick PCC using M20 grade concrete
- Ensure a flat, even surface
6. Footing and Column Setup
- Use 12mm or more steel rods for columns
- Use cover blocks to maintain spacing
- Vibrate concrete to remove air pockets
- Cure for at least 10–12 days
7. Plinth Beam and Backfilling
- Construct brickwork below plinth
- Cast the plinth beam with M20 concrete
- Backfill soil and compact it using water and machines
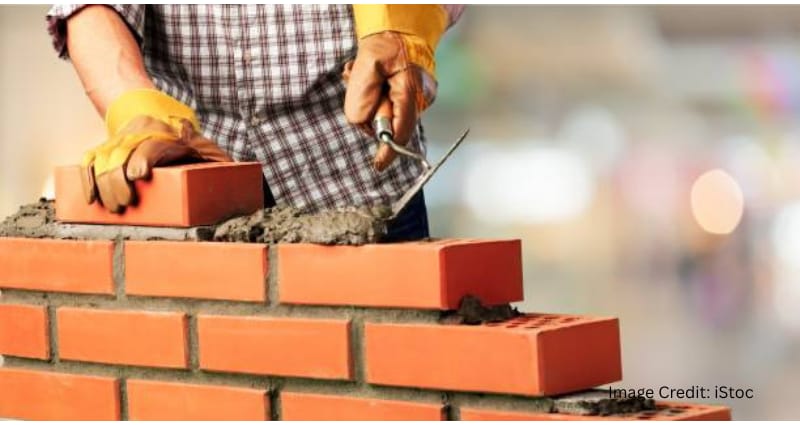
8. Ground Floor Brick Masonry
- Use well-soaked bricks
- Mortar ratio: 1:5 (cement:sand)
- Outer walls: 9-inch thick
- Inner walls: 4-inch thick
- Add concrete belts above 4-inch partition walls
🚿 Cure brickwork for at least 10 days
9. Lintel and Staircase Casting
- Provide lintel beams above doors and windows
- Cast stairs in two phases (before and after slab)
10. Roof Slab Casting
- Use 5-inch thick RCC slab
- M20 concrete with 10mm steel rods
- Check shuttering support and vibration
- Cure for 14 days minimum
- Install conduits for wiring before slab casting
11. Parapet Wall & Damp-Proofing (DPC)
- Build 3-ft high parapet walls for safety
- Apply DPC layer to prevent rising moisture
12. Plumbing & Electrical Conduits
- Place all electrical and plumbing lines before plaster
- Install chicken mesh at plumbing junctions to prevent future cracks in the wall.
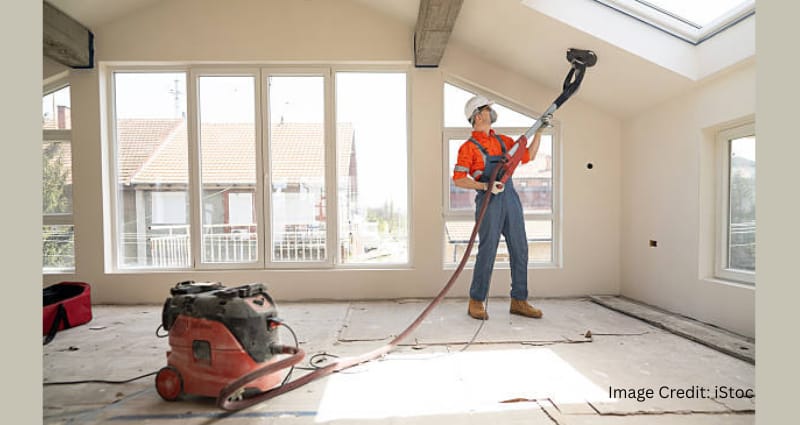
13. Wall Plastering
- Ceiling plaster thickness: 6 mm
- Interior walls: 12 mm
- Exterior walls: 18 mm
- Cement-sand ratio: 1:4 or 1:6
14. Tiling & Kitchen Counter
- Fix doors and window frames
- Complete kitchen counter first
- Then proceed with floor and wall tiling
15. Painting and Finishing Work
- Apply primer + 2 coats of putty
- Use branded paint for best finish
- Fix doors, railings, taps, switches, lights, fans
- Install electrical fittings after doors to avoid theft
✅ Final Checklist Before Moving In
- Paint touch-ups
- Electrical testing
- Plumbing leak check
- Final floor polishing
- Deep cleaning
📌 Final Thoughts
Constructing your home is not just about bricks and cement — it’s about dreams. By following these structured steps, you’ll ensure that your house stands strong for generations.
If you need help with planning, material estimates, or hiring trustworthy contractors — we’re just a message away!